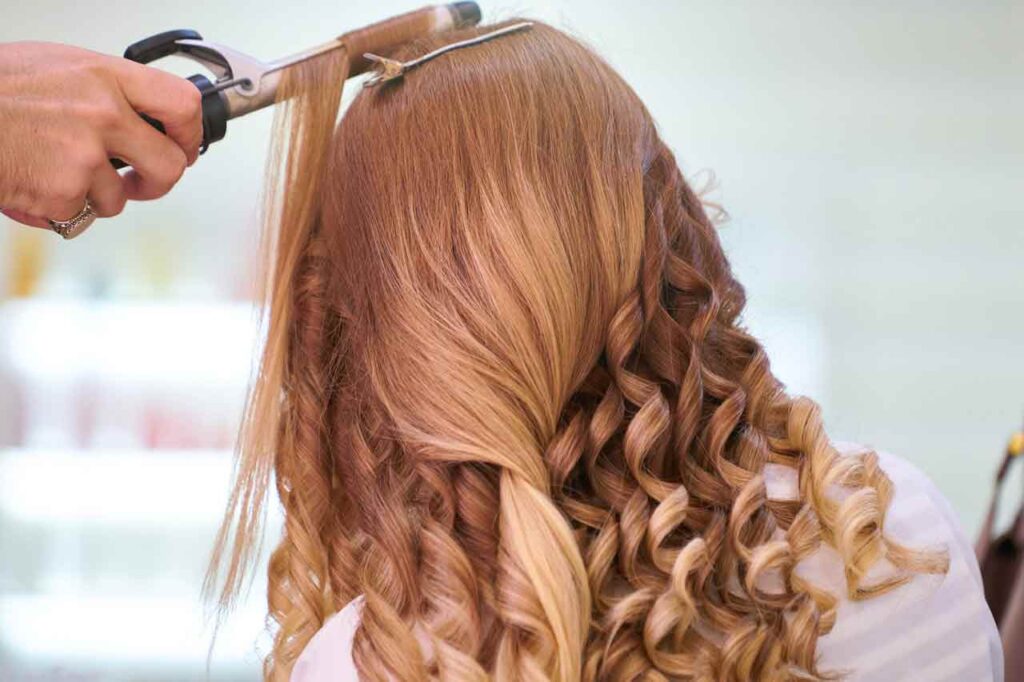
Do you want o know how to use curling iron without clamp? There are many types of curling irons on the market these days. Some have the traditional clamp. These used to dominate the market and be all that you could purchase. However, then the clampless curling irons can onto the scene. They were available 15 years ago, but they haven’t caught on until the past couple of years.

You might want a curling iron without a clamp because you might want to get a better curl. The clamps can crimp the hair if you don’t fix it properly at the end. Additionally, the wave pattern of this curling iron without a clamp is more distributed and pronounced throughout the entire hair shaft.
In the following article, we will discuss how to use a curling iron without a clamp. We will go through the process step by step to get a fuller understanding of the process involved.
How To Use Curling Iron Without Clamp
We have made two part for better understanding. In part one we will learn how to prepare you hair for curling iron. In part two we will learn how to use curling iron without clamp.
Part One- Prepare the Hair

Step 1: Brush Your Hair
The first thing that you need to do is actually to brush your hair. This will ensure that the hair is ready for a curl. It might seem counterintuitive to brush your hair, but the worst thing that you can do is to curl knotted hair. The brush out will ensure that you get those knots out and that your curl pattern is even.
Step 2: Evenly Apply a Heat Protectant
This step is a must-do in the process. You cannot, cannot, and I stress, should not ever curl your hair without a heat protectant. The salon-quality ones are better. They protect better and are less likely to irritate your skin. Always do a patch test on your wrist 24 to 48 hours before applying it to your entire head.
When you find a heat protectant, make sure that you do not have one that has oil. The reason is that oil burns. It will fry your hair. Imagine oil in a cooking pot, and how it just penetrates the vegetables and cooks them. This is basically what will happen when both oil and heat meet your hair.
When you apply the heat protectant, you need to put on an even coat. You do not want to get the bottom of the hair and not the top. It would be best if you got from root to tip and everywhere. Let the heat protectant dry on your hair before applying any heat.
Part 2- Your Curling Iron

Step 1: Heat the Iron According to Hair Texture
It would be best if you gauge the heat of the iron according to your hair texture. If you have thick hair, you will need a higher temperature than fine hair. It’s all about how much heat you apply. If you have a good curling iron, then you will be able to adjust the temperature. If you have a standard curling iron, then you’ll have to settle for getting to know how long to hold your hair on the iron before you go.
Step 2: Wear Your Heat Glove
I’ve met ladies who think they can skip this step. I’ve been this lady once or twice. I prefer a heat glove to a burned finger. Most of the irons come with the heat glove. They do this because the entire surface of the metal will be smoking hot. You can choose to skip this step, but don’t be upset if you get some blisters. However, you can only lead a horse to water, as the saying goes.
Step 3: Separate Your Hair Strands
It would be best if you separated your hair strands to make this work. It would help if you did this. You can get yourself a helpful section and then clip away the rest of your hair. It would help if you took note of your part. It needs to be small enough to hold a curl. You will want to do even sections for the rest of the hair.
Step 4: Wrap the Hair Around the Rod
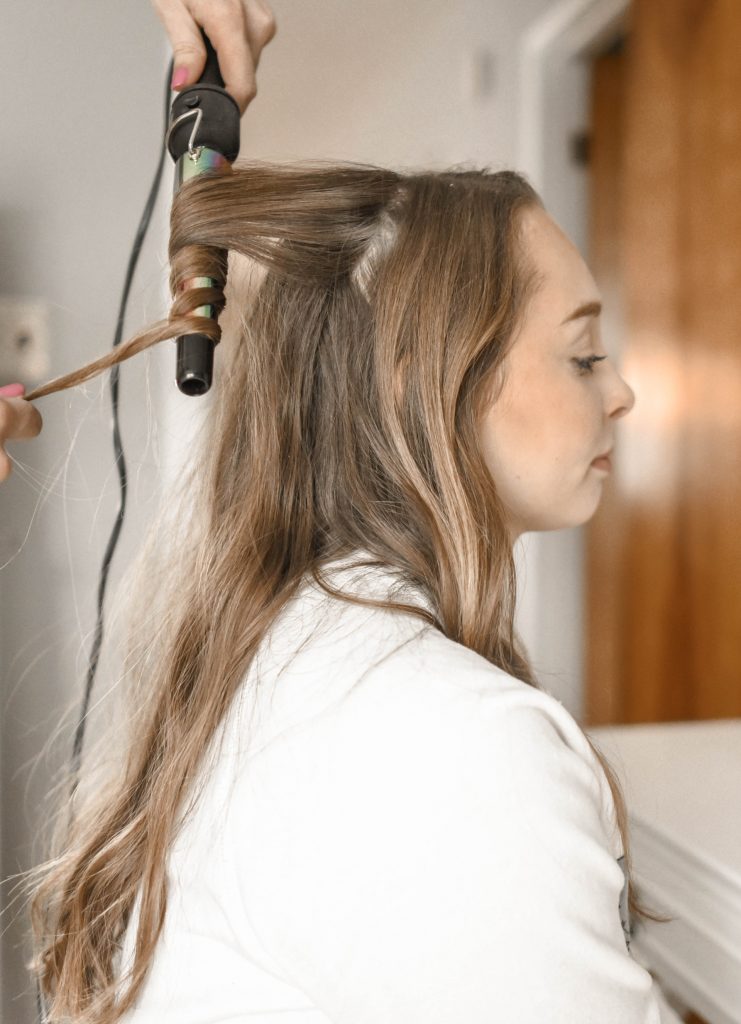
Starting from the top, you will want to take the hair and begin to spiral it done the rod until you get to the bottom. Once you are at the bottom, you should hold it there for a few seconds until your curl takes it. You’ll need to get the hang of this by practice. Make sure you never keep your hair there until it burns. If you see smoke, that might be the heat protectant evaporating. If you smell a burning smell, then you will know you have held your hair too long.
Step 5: Set with Hairspray
Hairspray might seem archaic, but they still use it all the time in salons. You can get an excellent hold if you brush out the curls with your fingers and then spray. For those who like a tighter curled look, don’t comb out the curls with your fingers.
Wrap Up
There is a learning curve when it comes to how to use a curling iron without a clamp. It might take people who are not experienced with long-length hair to catch on to it than those who are really in tune with the industry. Those who are hairstylists may have even been using this type of curling iron for a while now.
You will need to know how to use a curling iron without a clamp for several reasons. For one, and this is perhaps the most straightforward answer of them all, they are hot, and none of the surfaces is protected. This means it’s easier to burn yourself. With the clamp curling iron, the outside clamp isn’t heated. This design feature makes it easier to protect yourself from the heat.


![BEST CURLING IRONS FOR FINE HAIR REVIEWS OF 2023 [EASY] best curling iron for fine hair](https://womenoly.com/wp-content/uploads/2020/05/best-curling-iron-75x75.jpg)

![How Long Does FaceTite Last? [Easy Way in 2023] Review of FaceTite](https://womenoly.com/wp-content/uploads/2019/06/facetite-downtime-75x75.jpg)